-
 James Prue authoredJames Prue authored
README.md 2.10 KiB
Step 1. Research for ideas
- Watched videos about how height adjustable things work
- https://www.youtube.com/watch?v=NSRXYPe2ztY
- https://www.youtube.com/watch?v=X4-yOB3qFKI
- http://kevinjantzer.com/diy-adjustable-standing-desk/
- https://www.youtube.com/watch?v=ohyMRATOt5U
- https://www.youtube.com/watch?v=DtBSwr603sA
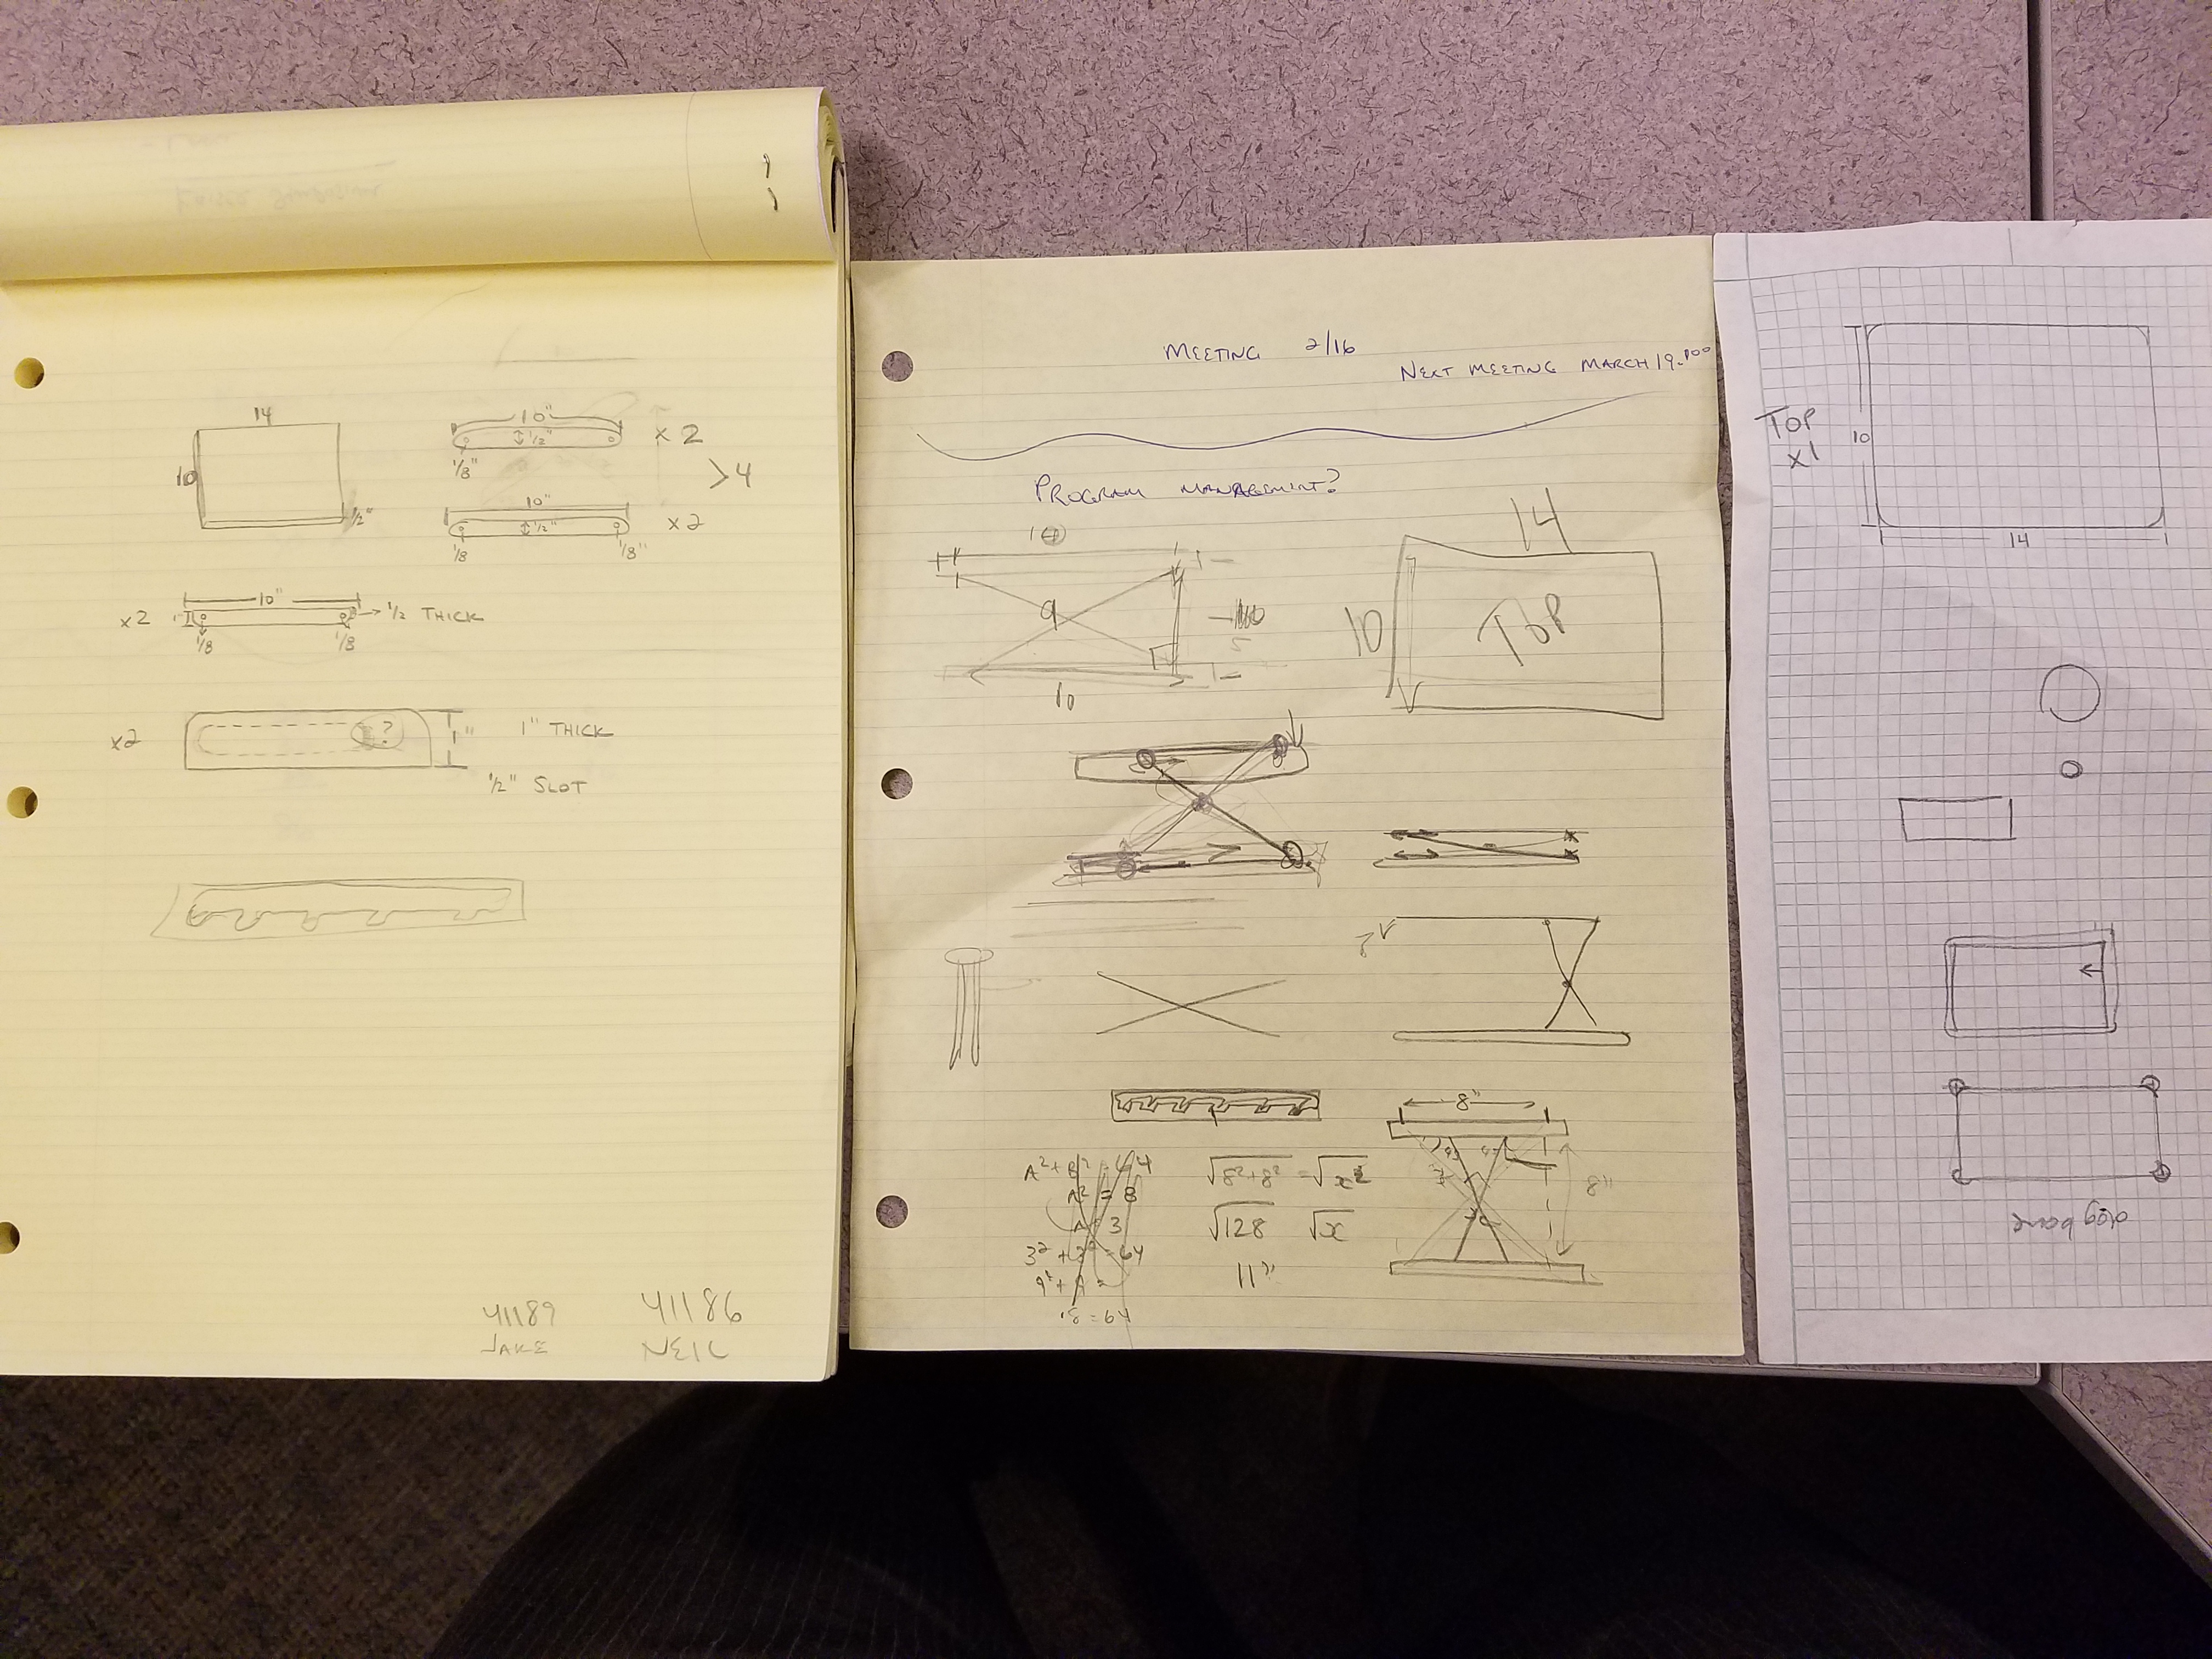
Step 2. Scratching my ideas out on paper
- First thought: Where do I start?
- 2nd thought: Maybe I should just buy an adjustable desktop
- Balancing design with functionality
- Seeing designs take shape made me realize the design errors that weren't apparent in my mind
- I'm glad I drew in pencil

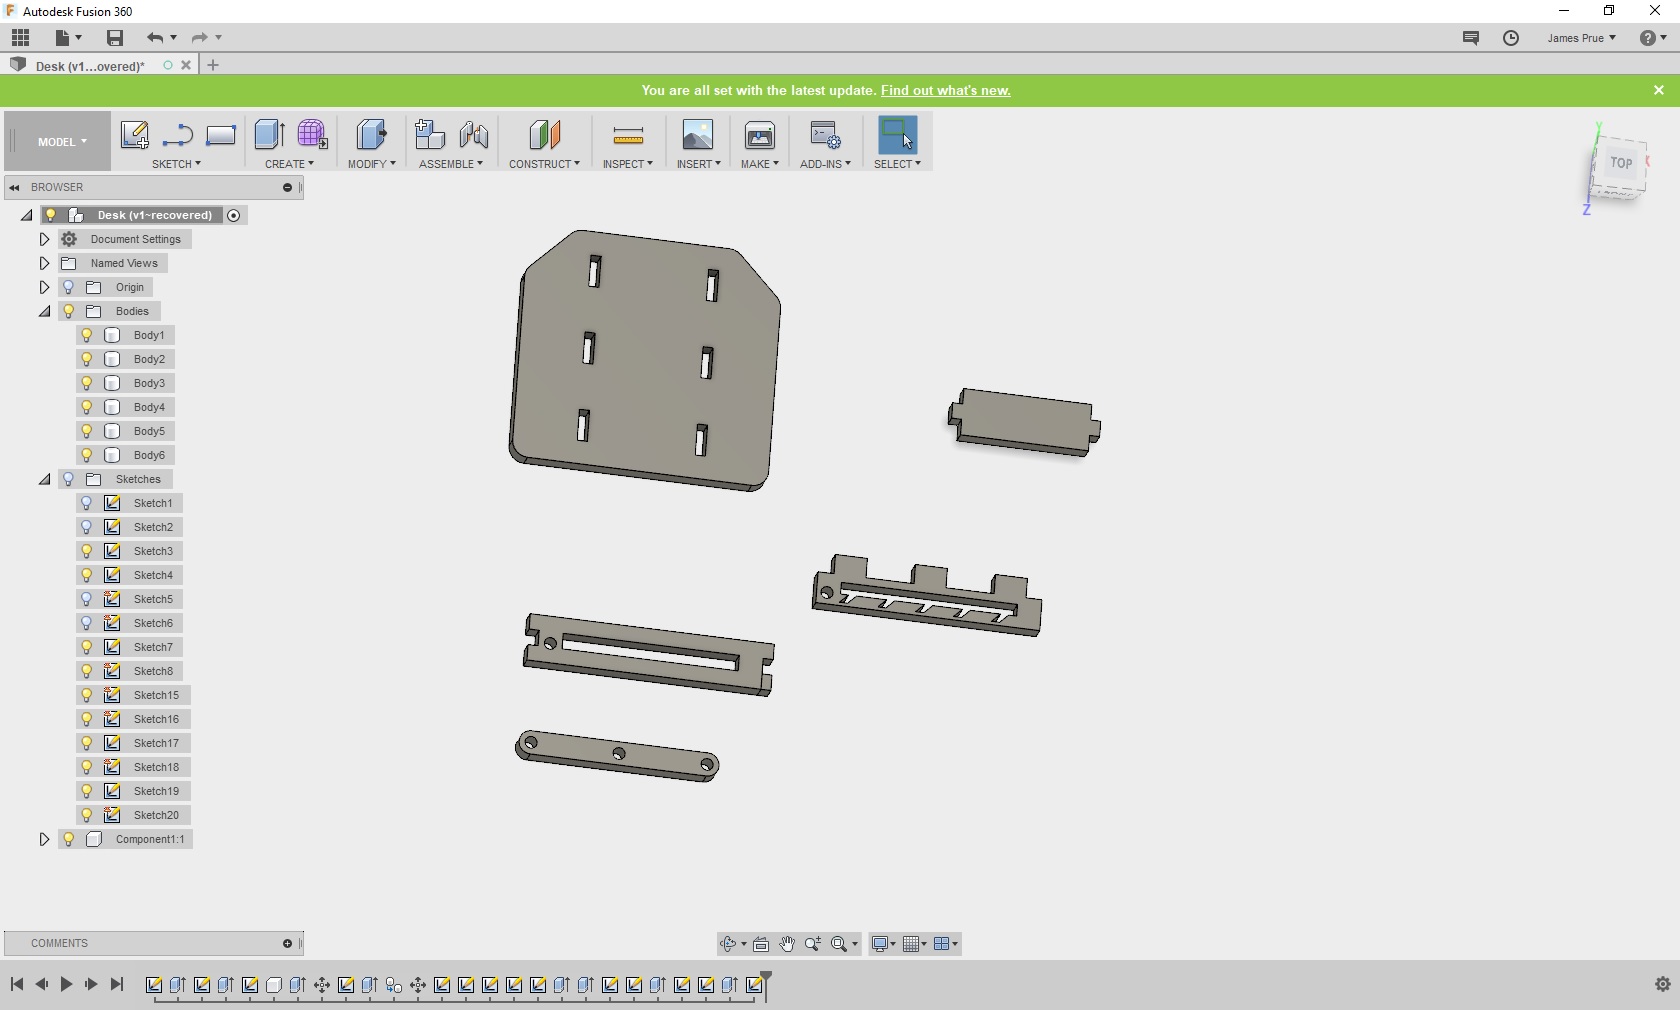
Step 3. Learning the design software "Autodesk Fusion 360"
- Observations
- Steep learning curve for someone without a CAD or Design background
- Not self explanatory
- Millions of mistakes ('control + z' and I are now best friends)
- After the initial frusteration it became fun and addicting
- After the two hours it took me to design 5 relatively simple parts I felt like I could navigate Fusion 360 relatively well on this simple level
**Step 4. Prototyping
- Attempt 1
- What process would I use?
- 3d printing
- Laser Cutting- I later decided on this one after Sam and Will's recommendation
- Waterjet
- Shop Bot
- What material would I use?
- John suggested wood and trying the waterjet as a cool process
- Will suggest 2.5mm thick Delrin with the laser cutter which I eventually settled on
- Using Corel Draw
- Uploaded my files
- Chose 1:2 as the scale
- Verified hairline and other settings
- Using the Epilog Legend 36EXT
- Got some additional training from Tom since I had only done Raster on Glass mugs before
- Tom wasn't 100% on the Power and Speed settings so he started with Speed 5 and Power 70
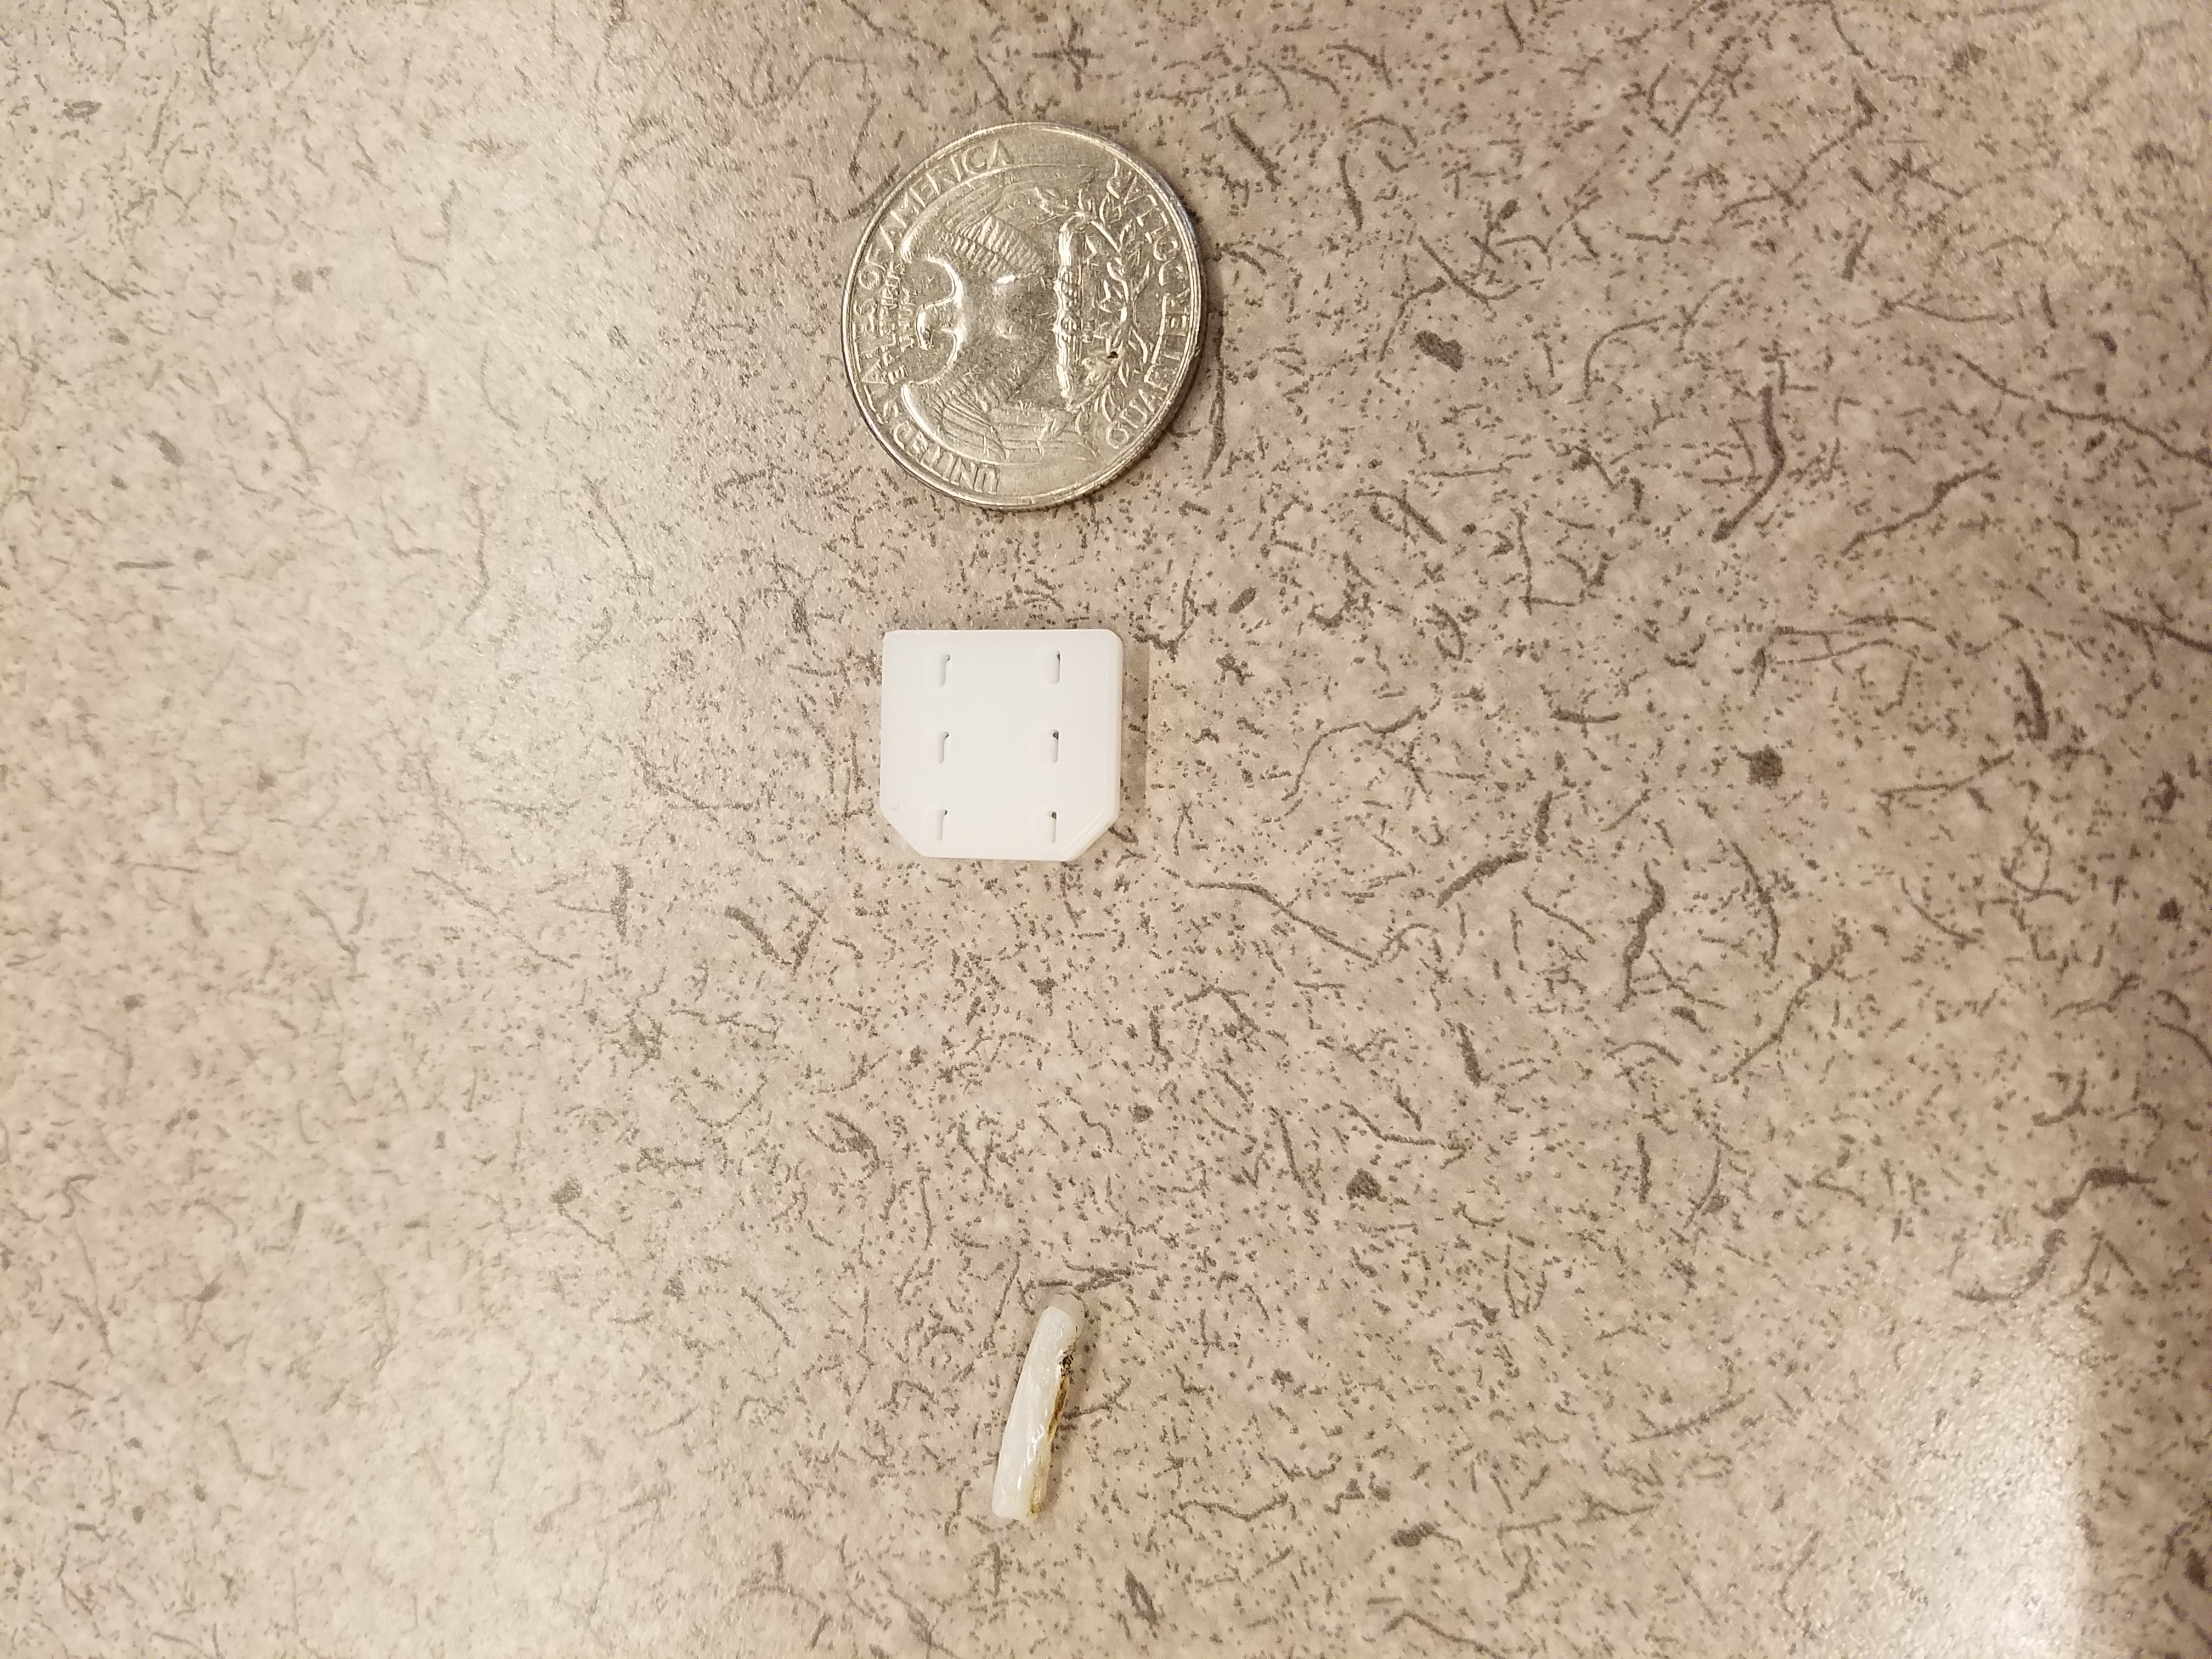
- Below is the result of the first attempt
- What process would I use?